How to edit part of a photo with masks and AI tools
In the Windows Editor tab, add a mask (subject, sky, brush and more) to change one part of a photo, or use AI tools to erase, blur, relight or replace a sky.
On this page
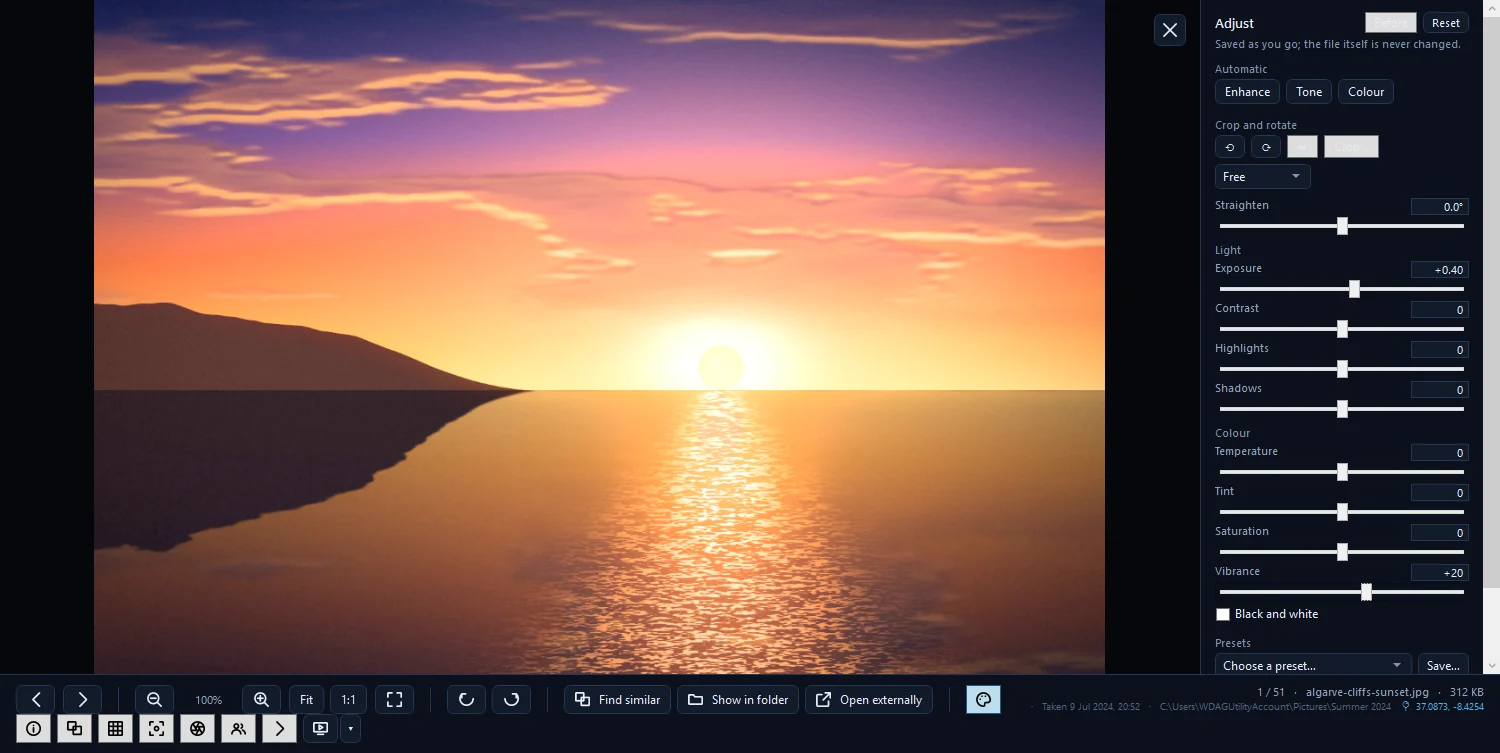
To edit just part of a photo in firelet.media Gallery, open the Editor tab (Ctrl+3, Windows) and add a mask: the subject, the sky, the background, an object you click, or an area you paint or drag. Then move that mask's sliders. The AI tools go further: erase things, change the background, blur it like a portrait lens, relight the scene or replace the sky.
Masks: local adjustments in a few clicks
A mask picks out an area, and the sliders under it change only that area. The rest of the photo stays as it is. You might brighten a face, darken a sky or warm up a foreground.
Add a mask
- Open the photo in the Editor and click Masks to open the section.
- Under New mask, choose the kind of mask (see the table below).
- For Subject, Sky and Background, wait a moment while the AI finds the area. For the others, draw it on the photo, then press Esc when you're done.
- Check the red overlay: it shows what the mask covers. Untick Show overlay to see the photo plainly.
- Move the mask's sliders: Exposure, Contrast, Highlights, Shadows, Whites, Blacks, Clarity, Texture, Dehaze, Temperature, Tint and Saturation.
| Mask | How you make it |
|---|---|
| Subject | Found by AI: the main person, animal or thing |
| Sky | Found by AI from the photo's depth |
| Background | Found by AI: everything but the subject |
| Object | "Click the object; Alt+click to leave a part out." |
| Brush | "Paint on the photo." Set Size, Feather and Flow first. |
| Linear | "Drag from where the effect is full to where it fades out." Good for a sky or a foreground. |
| Radial | "Drag from the centre outwards." Good for a spotlight or a soft vignette. |
Refine a mask
Each mask gets a line in the list, such as "Subject 1". Select it to change it:
- Add to mask adds another piece, of any kind. A subject plus a brushed-in hat, for example.
- Subtract from mask cuts a piece out. Brush away an area the AI took by mistake.
- Invert swaps what is inside and outside the mask.
- Delete mask removes it.
You can add as many masks as you need, each with its own sliders.
AI tools
The AI tools section has six tools. They all run on your PC, and a tool that needs an AI model asks before downloading it the first time.
Smart enhance
Click Suggest three. The gallery builds three edits on top of Auto, such as Balanced, Clear or Punchy, and shows each as a small tile. Click the one you like; your sliders take its values, so you can fine-tune from there. With AI search installed, the tiles are ranked by their aesthetic score, shown with a star.
Magic eraser
- Click Erase… and set Size.
- Brush over a person or object you want gone.
- Let go. The area is filled in from its surroundings.
Each stroke is filled when you let go, and Undo takes back the last one.
Background
Choose A colour (White, Light grey, Black, Cream, Blue or Green), Blurred or Removed (transparent), then set Amount. As it is turns it off. For a cut-out, export as PNG to keep the transparency.
Portrait blur
Raise Blur to soften what is behind (and in front of) your subject, the way a wide-aperture lens would. The subject itself stays sharp. Focus on the subject is on at first; untick it and set Focus distance to choose the sharp distance yourself.
Relight
Click Place the light, then click the photo where the light should come from. Set Strength, Warmth (cooler or warmer) and Ambient, which darkens or brightens the whole scene. The gallery works out the scene's depth, so nearer things facing the light gain the most.
Sky
Boost makes the sky deeper, richer and clearer. Under Replace the sky, pick one of 12 built-in skies, such as Blue, Golden, Storm or Night, or Your photo… to use a sky you shot yourself. Amount blends it in.
The one-time downloads
The first time you use a tool, the gallery asks: "needs its AI model, a one-time download of … MB. It then works offline on this PC." The size depends on the tool. Say no and it won't ask again until you restart the gallery.
| Tool | Model it downloads |
|---|---|
| Subject and Background masks, Background, Portrait blur | Subject and background |
| Sky mask, Sky, Portrait blur, Relight | Depth |
| Object mask | Click to select |
| Magic eraser | Magic eraser |
On a PC with little free memory, the gallery uses a lighter subject model instead, with slightly softer edges. The tools run on the processor; the subject takes a few seconds on a typical photo.
Where AI edits are kept
The eraser's fills and the AI's maps are kept beside the library, in the ai folder under %LOCALAPPDATA%\PictureGallery. Your photo file is never changed, and Undo or Reset takes the change away.
If you'd rather have a separate file, open Library (Alt+1) and tick AI edits make a new photo. The magic eraser and background changes then write a new photo next to the original, named like photo (erased).jpg or photo (background).png, and open it in the Editor.
Questions people ask
Are my photos sent anywhere for the AI tools?
No. Each tool downloads its model once, after asking, and then runs on your PC. Your photos never leave it.
Does the magic eraser change my file?
No. The fill is kept beside the library and drawn over the photo. Undo or Reset takes it away at any time.
How do I get a cut-out with a transparent background?
Set Background to 'Removed (transparent)', then export as PNG. A JPEG export puts the subject on white.
Was this article helpful?
Thank you — that is counted, and nothing else about you is. Still stuck? Ask a person.