How to use the Editor tab for detailed photo editing
On Windows, press Ctrl+3 for the Editor: tone curve, colour mixer, grading, detail, looks, undo history, versions and sync. Your photo files never change.
On this page
The Editor tab is firelet.media Gallery's full photo editor on Windows. Press Ctrl+3 and you get a tone curve, a colour mixer, colour grading, sharpening and noise reduction, looks, masks and repair tools, with an undo history and versions. Like the viewer's Adjust panel, it saves your edits in the library and never changes the photo file.
Adjust panel or Editor tab?
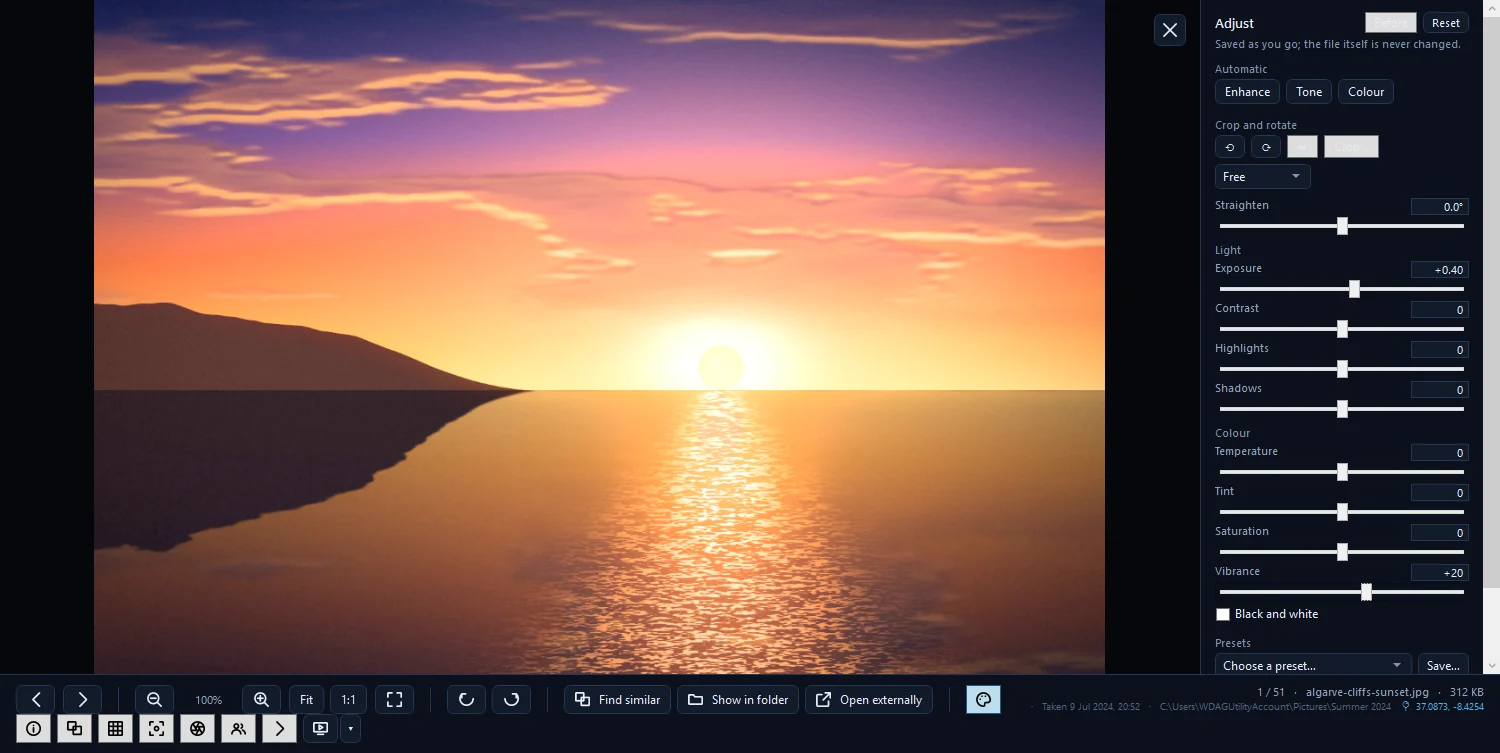
Both edit the same photo, and both save as you go. The viewer's Adjust panel (E) is for quick fixes while you browse. The Editor tab is where you go for more control.
| Adjust panel (viewer) | Editor tab | |
|---|---|---|
| Light, colour, crop, straighten, presets | Yes | Yes |
| Whites, blacks, clarity, texture, dehaze | No | Yes |
| Tone curve, colour mixer, colour grading | No | Yes |
| Sharpening, noise reduction, vignette, grain | No | Yes |
| Masks, AI tools, repair, combine photos | No | Yes |
| Undo history | No (Reset only) | Up to 100 steps |
How to open the Editor
- Select one or more photos in the grid.
- Press Ctrl+3, or click Editor in the title bar.
- Click a photo in the Photos strip on the left to edit it.
- Press Ctrl+1 to go back to the Viewer tab when you're done.
There are other ways in. Press Shift+E in the grid, right-click a tile and choose Edit in Editor, or click Open in Editor in the viewer's Adjust panel.
The strip holds your selection when you select more than one photo. Otherwise it holds every photo the grid is showing, so you can step through them with ← and → (or PgUp and PgDn). Videos are left out: the Editor works on photos.
Find your way around
- Left: the strip, Versions and History. The strip lists the photos you are editing. Under it are the versions of the photo on screen and its history.
- Middle: the photo. Above it are Undo, Redo, Before and after and Reset. A line under the photo's name says what you did last.
- Right: the adjustments. A histogram, the Enhance, Tone and Colour buttons, then the sections. Click a section's name to open or close it.
The sections at a glance
| Section | What it does |
|---|---|
| Looks | 38 built-in looks, from Natural and Vivid to Noir and Cyanotype, each with an Amount slider. Import .cube… adds a 3D LUT you own. |
| Light | Exposure, Contrast, Highlights, Shadows, Whites and Blacks |
| Presence | Clarity, Texture and Dehaze |
| Colour | Temperature, Tint, Vibrance, Saturation and Black and white |
| Tone curve | One curve for RGB or one each for Red, Green and Blue. Click the line to add a point, drag to bend it, double-click a point to remove it. |
| Colour mixer | Hue, Saturation and Luminance for eight colours, from Red to Magenta |
| Colour grading | Three wheels for Shadows, Midtones and Highlights, plus Blending and Balance. Drag a dot towards a colour; double-click a wheel to clear it. |
| Detail | Sharpening, Radius, Noise reduction and Colour noise |
| Effects | Vignette, Midpoint, Grain and Grain size |
| Lens and perspective, Repair | Lens corrections, perspective, spots, red eye, film negatives and old photos |
| Masks, AI tools | Changes to one part of the photo, and the AI edits |
| Crop and rotate, Presets | The same tools as the Adjust panel |
| Combine photos, Text, drawing and frames | HDR, panoramas, text and frames, each saved as a new photo |
| Copy and sync | Copy, paste and sync edits; open a copy in another app |
Sharpening and noise reduction show best at full size, because the preview is smaller. Masks and AI tools have their own guide: how to edit part of a photo with masks and AI tools. So do repairs and HDR, panoramas, text and frames.
Undo, history and before-and-after
- Undo (Ctrl+Z) and Redo (Ctrl+Y or Ctrl+Shift+Z) step back and forward one change at a time.
- History lists every step, newest at the top. Click a step to go back to it; click Original at the bottom to undo everything. It is kept with the photo, up to 100 steps.
- Reset goes back to the original "as one step you can undo".
- Before and after splits the picture: drag the line to compare. Hold \ to see the whole original.
A slider drag is one step, so moving Exposure around for a while still undoes in one go.
Versions: two takes of one photo
Click New version under Versions to make a separate tile with its own edits, stars and albums. The file is not copied. Try a colour take and a black-and-white take side by side, then rate or export each one on its own.
Edit many photos at once
To give a series the same look:
- Edit one photo until you are happy with it.
- In the strip, Ctrl-click or Shift-click the other photos.
- Click Sync… in Copy and sync.
- Tick the parts to carry over. Parts this photo uses are marked "set"; Crop and turn starts unticked.
- Click Sync.
A ticked part that this photo leaves at zero resets that part on the others. For one photo at a time, Copy edits (Ctrl+Shift+C) and Paste edits (Ctrl+Shift+V) carry everything except the crop and turn.
Get a file with your edits
Your edits live in the library, not in the file. When you need a real file, select the photo in the grid, press Ctrl+E and tick With my edits — crop, turn, light and colour. Every Editor change goes into the copy. How to export photos covers the rest.
To finish a photo in another program, click Edit in another app… under Copy and sync. The gallery writes a 16-bit TIFF copy with your edits beside the original, named like photo (edit).tif, adds it to the library and opens it in the app you chose with Choose app….
Questions people ask
Is the Editor tab in the Linux app?
No. The Editor tab is in the Windows app only. The Linux app has the viewer's Adjust panel, with crop, straighten, light, colour, looks and presets.
How far back can I undo?
Up to 100 steps per photo. The history is kept with the photo, so it is still there after you close the gallery.
Does a version copy my photo file?
No. A version is a separate tile in the library with its own edits, stars and albums, drawn from the same file.
Are my Editor edits included when I export?
Yes. Export with 'With my edits — crop, turn, light and colour' ticked draws every Editor change into the copy.
Was this article helpful?
Thank you — that is counted, and nothing else about you is. Still stuck? Ask a person.