How to merge HDR, stitch a panorama and add text or a frame
In the Windows Editor tab, select photos in the strip to merge them to HDR or stitch a panorama, or add text, arrows and a frame. Each result is a new photo.
On this page
firelet.media Gallery can combine several photos into one and finish a photo with text, drawing or a frame. Both are in the Editor tab on Windows (Ctrl+3). Combine photos merges bracketed exposures to HDR or stitches overlapping shots into a panorama. Text, drawing and frames adds words, arrows, shapes and a border. Each result is saved as a new photo beside the original.
Combine photos: HDR and panoramas
Both tools work on the photos you select in the Editor's Photos strip.
Merge to HDR
HDR blends bracketed exposures (the same scene shot darker and lighter) "into one photo with detail in both the shadows and the highlights". It suits a bright window in a dark room, or a sunset over a shaded valley.
- Select the bracketed photos in the grid and press Ctrl+3.
- In the Photos strip, click the first photo, then Ctrl-click the others.
- Open Combine photos and click Merge to HDR.
- The first time, allow the one-time download of the HDR and panorama tools.
- Wait while the status line says "Merging … photos to HDR…".
The frames are lined up for you, so small shifts between handheld shots are fine. The merge uses the photos as shot, with any spot or eraser repairs; edit the result afterwards, like any other photo.
Stitch panorama
Stitch panorama "joins the selected overlapping photos into one wide picture".
- In the Photos strip, select two or more photos that overlap, with Ctrl-click or Shift-click.
- Open Combine photos and click Stitch panorama.
- Wait while the status line says "Stitching … photos…".
The result is cut to a clean rectangle, so there are no ragged edges. If the gallery says "These photos could not be stitched: neighbours need to overlap by about a third", select photos that share more of the scene.
Where the result goes
The new photo is saved next to the first photo you selected, named like photo (HDR).jpg or photo (panorama).jpg. It is added to your library and opens in the Editor, ready for tone and colour.
Add text, arrows, shapes and drawing
The Text, drawing and frames section is for labels, notes and simple graphics: names on a family photo, an arrow on a screenshot, a ring round a detail.
- Open the photo in the Editor and click Text, drawing and frames.
- Pick a colour: White, Black, Red, Yellow, Blue or Green.
- Set Size.
- For text: type in the box, click Text, then click the photo where it goes.
- For a shape: click Arrow, Line, Box or Ellipse, then drag on the photo. Pen draws freehand.
- Click Undo last to take back the last mark, or Clear all to start again.
What you see on the photo is what will be burned in, at the same position and size.
Add a frame or border
- Under Frame, choose Plain border, Rounded, Instant photo, Film strip, Mat or Gallery frame.
- Set Width. Plain border and Rounded also let you pick a colour.
- Check the small preview of the finished photo.
To use a frame of your own, choose Add your own frame… and pick a PNG with a transparent window where the photo should show. The gallery finds the window by itself and keeps a copy of the frame beside the library, so it stays in the list.
Save the finished photo
Click Save as new photo. The gallery "writes the photo with your edits, drawing and frame as a new photo beside the original", named like photo (finished).jpg, adds it to the library and opens it in the Editor.
Your original is never changed, and the finished photo is an ordinary JPEG you can share, print or export like any other.
More ways to finish a photo
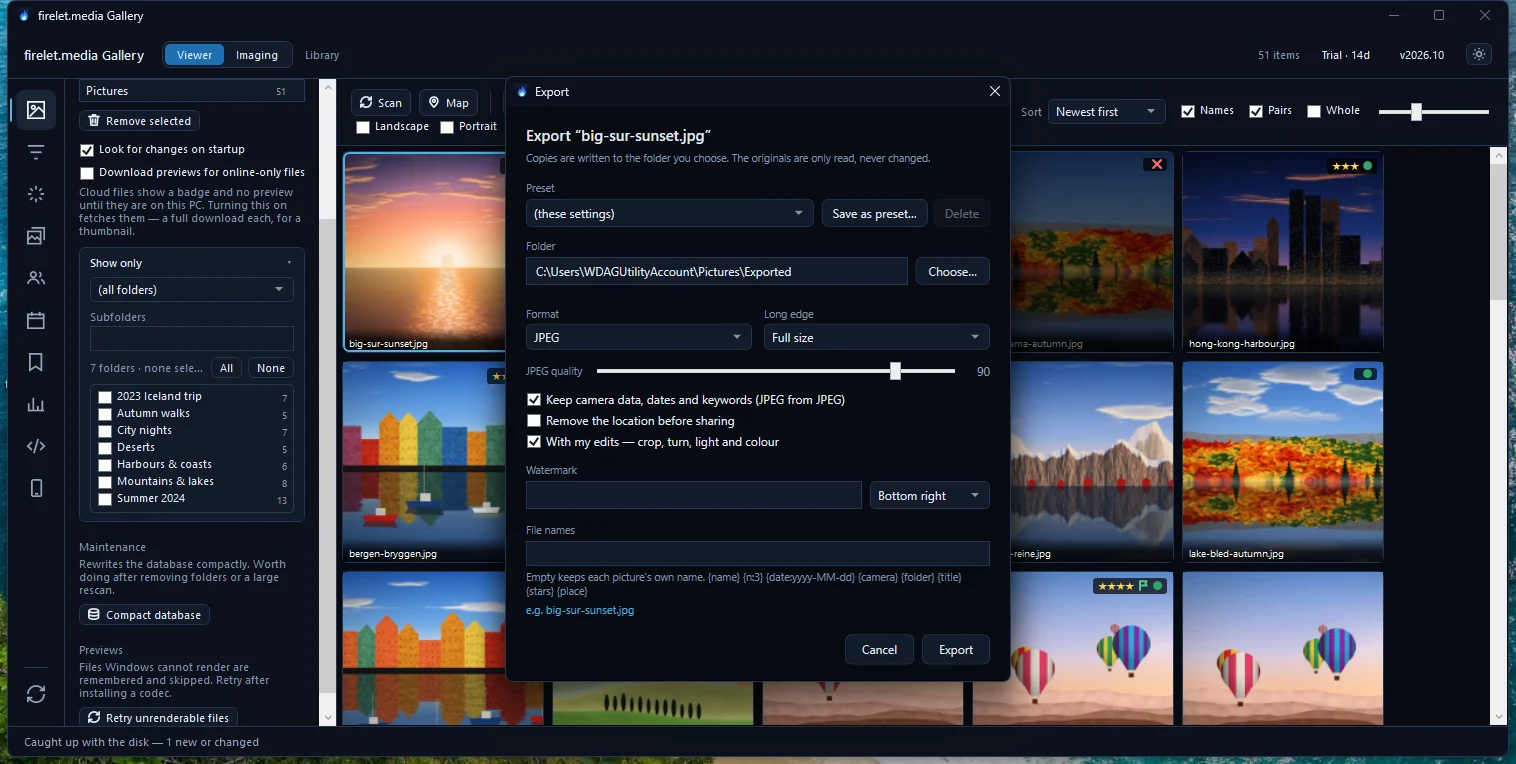
- To keep your edits but not burn anything in, export with With my edits — crop, turn, light and colour ticked.
- To carry on in another program, use Edit in another app… under Copy and sync. It writes a 16-bit TIFF copy with your edits. See how to use the Editor tab.
- For a collage, a photo book or a calendar, look under Create when you right-click a selection in the grid.
The Masks and AI tools sections can prepare a photo before you finish it: brighten a face, blur the background or replace the sky. See how to edit part of a photo with masks and AI tools.
Questions people ask
Why won't my photos stitch into a panorama?
Neighbouring photos need to overlap by about a third. Shoot again with more overlap, or select fewer photos that overlap well.
Can I move or edit text after saving?
No. Text, drawing and frames are burned into a new photo. Your original stays as it was, so you can start again from it.
Do HDR and panorama need the internet?
Only once. The first time, the gallery asks to download the HDR and panorama tools (OpenCV). After that they work offline.
Was this article helpful?
Thank you — that is counted, and nothing else about you is. Still stuck? Ask a person.