How to scan old family photos (and make them findable)
Turn shoeboxes of prints into a searchable archive: scan in batches, name the files sensibly, add the right year and place, and let AI search find them later.
On this page
Here is how to scan old family photos so you can find them later: sort the prints into batches, scan each batch at 300 to 600 dpi into its own folder, then give every batch its real date, place and a caption. firelet.media Gallery handles all of it on Windows: it scans straight into your library, keeps the corrections, and lets you search the prints by describing them.
The scanning is the easy half. What turns a folder of files called scan0001.jpg into a family archive is what you add afterwards. This guide covers both, in the order that saves the most time.
Plan before you scan
An hour of sorting saves a weekend of fixing. Before you switch the scanner on:
- Sort prints into batches that belong together: one album, one box, one decade, one wedding. A batch should share roughly the same date and place, because you will date it in one go later.
- Write down what you know about each batch on a sheet of paper: who, where, roughly when. Read the backs of the prints. Processing dates and handwritten notes are easy to lose once the print goes back in the box.
- Clean the glass and dust the prints gently with a soft, dry cloth. Handle them by the edges.
- Decide on one folder for the whole archive, such as
Pictures\Family archive, with a subfolder per batch.
If you can, ask the oldest relative who knows the photos to sit with you for the first session. The names and stories they give you are the part no scanner or software can recover later.
Scanner settings that matter
In firelet.media Gallery, scan settings belong to a project: a named folder with its own settings, remembered for next time. A project per batch works well.
| Setting | What to choose for old prints |
|---|---|
| Resolution | 300 dpi for everyday prints; 600 dpi for small prints you may crop or enlarge. The app's own hint: "300 is enough for text. Above 600 is for film and prints, and quadruples the file for every doubling." |
| Colour | Colour, even for black-and-white prints. Old monochrome prints are often warm-toned, and Colour keeps that. |
| Paper source | Flatbed. Never feed old prints through a document feeder. |
| Save as | Automatic saves colour scans as JPEG (and greyscale as lossless PNG). Choose TIFF if you want uncompressed master files and have the space. |
| JPEG quality | Leave it at 90. The app's hint: "90 is visually lossless for most pages." |
| Brightness and Contrast | Leave them in the middle. You can correct each scan later without touching the file. |
Crop to the page edges is on by default and was designed for sheets of paper. Use Preview to check how it frames a small print, and turn it off if it trims too much or leaves a border.
How to scan old family photos into your library
Here is a first session from start to finish on Windows:
- Click the Imaging tab in the title bar (or press Ctrl+2) and choose Scan.
- Press New to start a project. Give it a name such as "Grandma's red album" and choose its folder.
- Pick your scanner in the Scanner list. If it isn't there, switch it on and press Look again.
- Set Resolution, Colour, Paper source and Save as as above.
- Place a print on the glass and press Preview to check what is on the glass and which way up it is.
- Press Scan.
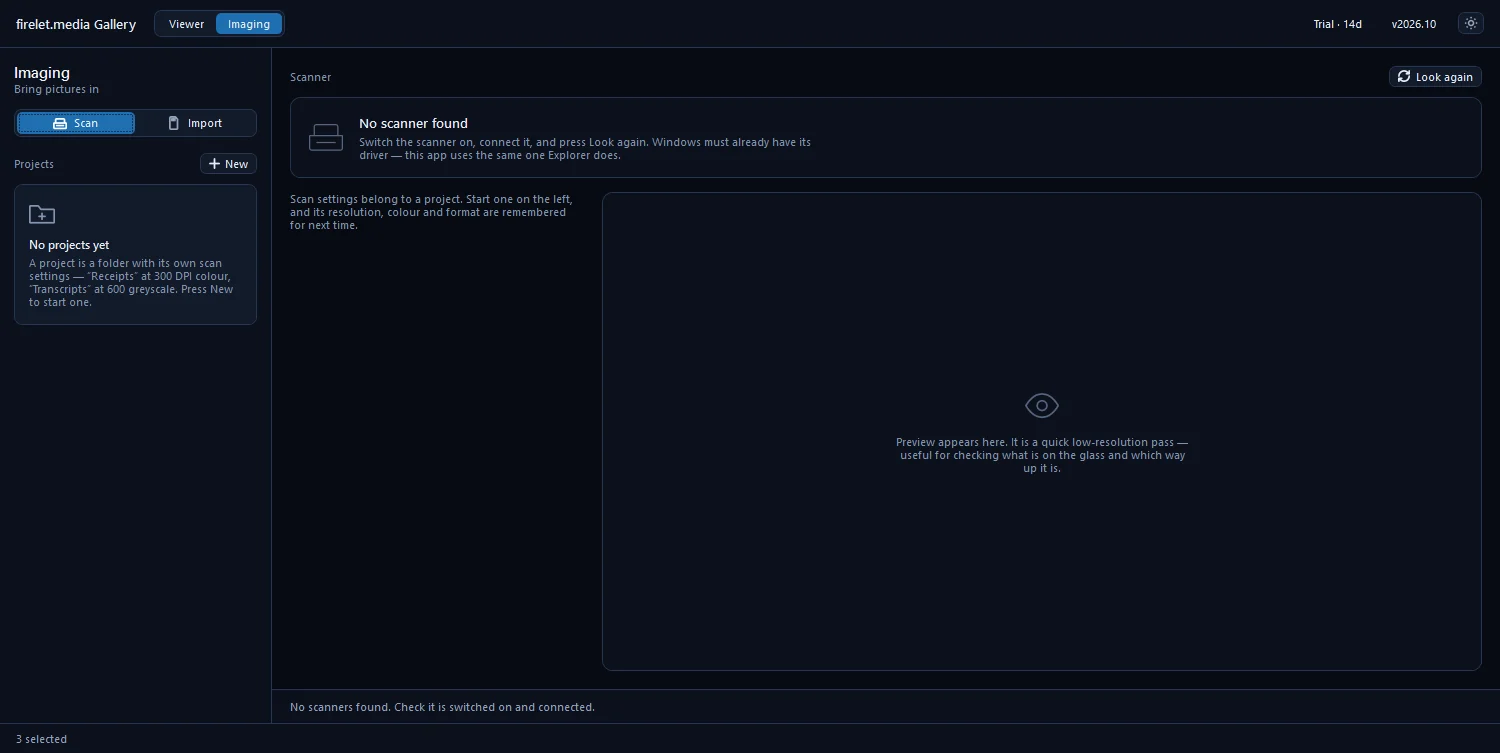
Every scan is saved as its own JPEG, PNG or TIFF file in the project's folder, and that folder is part of your library, so the new picture appears in the grid straight away. There is no PDF or multi-page option; for photos, one file per print is what you want anyway.
On Linux, when that build is available, scanning goes through SANE. There is no scanning in the macOS build. The step-by-step reference for every scan setting is how to scan photos and documents.
Naming and folders
New scans are named by the day you scanned them, in the form yyyy-MM-dd_NNN, for example 2026-10-02_001.jpg. That keeps a session in order, but the date in the name is the scanning date, not the date of the photo.
Don't rename anything yet. Fix the dates first (next section), then rename with the real date in one go:
- Select the batch in the grid.
- Press F2 to open Rename.
- Type a pattern in New names, for example
{date:yyyy-MM-dd} Smith family {n:3}. - Check the preview of each new name, then press Rename.
The {date} token uses the date the gallery holds for the picture, including your correction. Stars, keywords, albums and everything else the gallery knows move with each file.
For structure, one folder per batch inside your archive folder is plenty. If a print belongs to two stories, say "Grandma's red album" and "Wedding 1962", don't copy it: add it to an album for each. Albums are lists in the library, so one scan can be in as many as you like.
Dates, places and captions
A scan is dated by the day it was scanned, not the day the photo was taken, so a 1962 wedding sorts as if it happened this morning. Correcting that is what makes the Calendar, the date filters and a slideshow in date order work.
Dates. Select a batch, press Ctrl+Shift+D to open Date and time, choose Set the first to, enter the date and press Apply. The first scan gets that date and the rest move with it, keeping their order. If you only know the year, pick a convention and stick to it, such as 1 July, and say "about 1962" in the caption. There is more on this in photos in the wrong order? How to fix dates.
Places. Press Ctrl+Shift+L to open Location. Type coordinates, or paste a link copied from Google Maps or OpenStreetMap, and press Set. The whole batch can share one location.
Captions and people. Open a scan, press I for the info panel, and fill in Title, Caption and Keywords. In the People panel, Find faces looks at scanned prints like any other photograph, so you can name relatives once and find them across decades.
All of these corrections live in the gallery's library; the scanned files themselves are never changed. To keep them beside the files, where other photo programs can read them, open Albums & keywords and use Write the selection under XMP sidecars.
Search. Once the AI model is downloaded (a one-time 438 MB) and you have run Index library in the AI panel, you can find prints by describing them, such as "wedding outside a church" or "children on a beach". English descriptions work best. See how to find photos by description, and for the bigger picture, how to organise 20 years of family photos.
Backing up the scans
A scanning project is hours of work, and the files are now the copy most of your family will ever see. Treat them as precious.
firelet.media Gallery is not a backup: it organises the files where they are and never makes extra copies. Back up the archive folder to at least one other drive, and ideally one more copy somewhere else. While you're at it, copy the library file %LOCALAPPDATA%\PictureGallery\gallery.db with the gallery closed, so your dates, captions and names are safe too, and write XMP sidecars so the most important details sit beside every scan.
How to back up your photos and your library walks through each step.
Questions people ask
Which scanners work?
On Windows, scanners that have a Windows (WIA) or TWAIN driver should appear in the Scanner list; scanning hasn't yet been verified on a wide range of real hardware. On Linux, when that build is available, scanners work through SANE. There is no scanning on macOS.
What resolution should I scan prints at?
The Scan settings start at 300 dpi. As general advice, 600 dpi keeps more detail for small prints you may want to crop or enlarge, at the cost of much bigger files.
Was this post helpful?
Thank you — that is counted, and nothing else about you is. Still stuck? Ask a person.