How to scan photos and documents with your scanner
Open Imaging (Ctrl+2) → Scan, press New to make a project folder, pick your scanner and settings, then Preview and Scan. Each page is saved as an image.
On this page
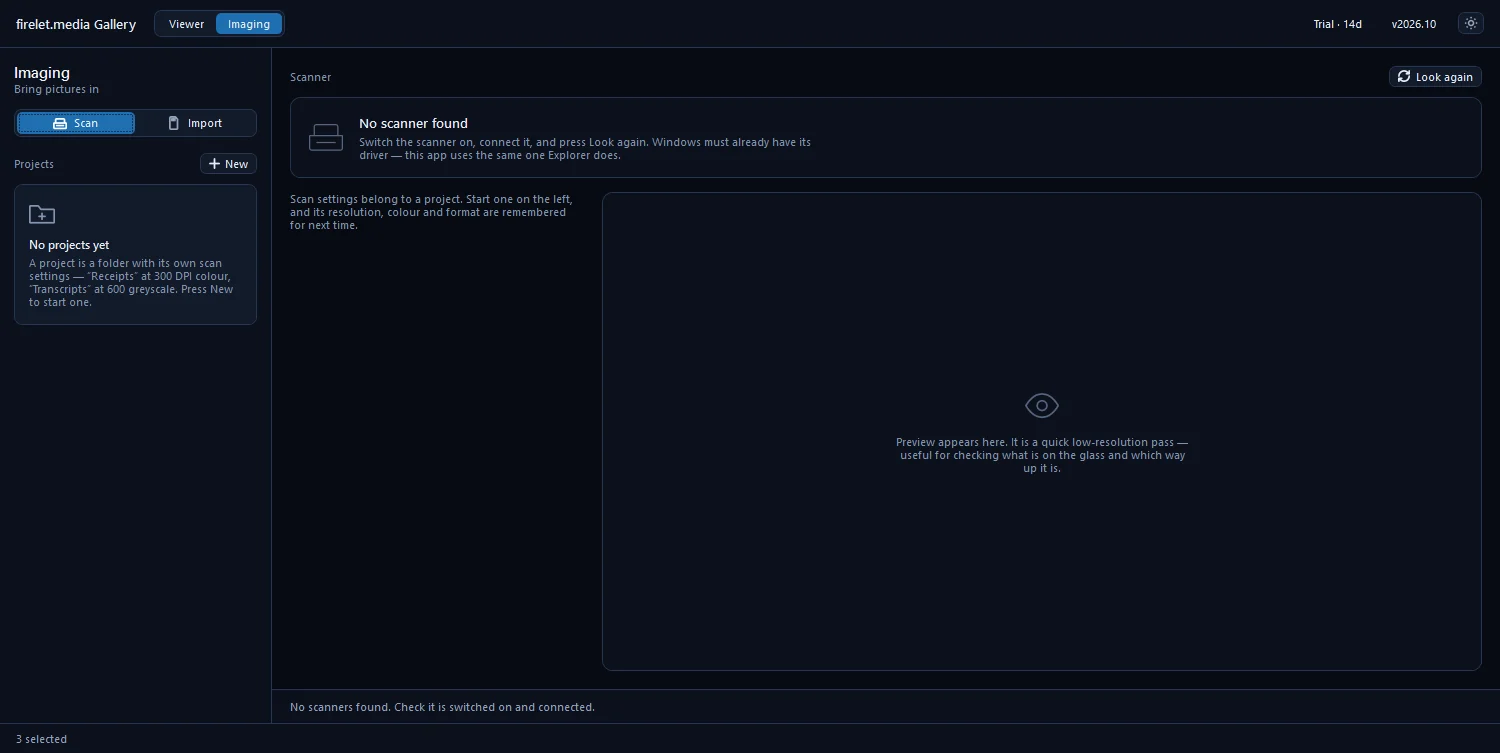
To scan photos into your library with firelet.media Gallery, press Ctrl+2 for Imaging and open the Scan tab. Press New to make a project (a folder with its own scan settings), choose your scanner, set the resolution and colour, then press Preview and Scan. Each page is saved as an image in the project folder and appears in your library straight away.
What the Imaging view does
Imaging is where pictures come into the library. It has two tabs: Scan, for a flatbed or document-feeder scanner, and Import, for cards, cameras and phones (see importing from an SD card or camera).
On Windows, the gallery talks to your scanner through the driver Windows already has for it (WIA, TWAIN or Windows' own scanning support). A scanner that works in File Explorer should appear in the list.
Steps: create a scan project
A project is a named folder with its own settings, for example "Family prints" at 600 dpi colour and "Receipts" at 300 dpi greyscale. Settings are remembered per project, so you set them once.
- Press Ctrl+2, or click Imaging in the title bar, then open the Scan tab.
- Press New.
- Choose the folder to scan into, or make a new one. The project takes the folder's name.
- The gallery confirms that the project is ready. When you scan the first pages into it, the folder joins your library if it isn't part of it already.
Remove project forgets a project and its settings. "The folder and everything scanned into it are left exactly where they are."
Steps: choose a scanner and settings
- Switch the scanner on and connect it.
- Pick it in the Scanner list. If the list says "No scanner found", press Look again.
- Set Resolution. 300 dpi is the default and enough for text; above 600 is for film and prints, and every doubling quadruples the file size.
- Choose Colour: Colour, Greyscale, or Black and white.
- Choose Paper source: Flatbed, Document feeder or Automatic. With a feeder you can also set Pages (0 for the whole tray) and tick Scan both sides.
- Leave Crop to the page edges on unless you want the whole glass.
- Adjust Brightness and Contrast if needed, and choose Save as: Automatic, JPEG, PNG or TIFF.

Automatic saves colour scans as JPEG and greyscale or black-and-white ones as PNG, which keeps text crisp. JPEG quality defaults to 90, which is visually lossless for most pages.
Preview, Scan and page names
- Press Preview for a quick, low-resolution pass. It shows what is on the glass and which way up it is.
- Straighten the print if needed, then press Scan.
- Wait for the status line, for example "1 page(s) saved to “Family prints”".
Pages are named by the day you scanned them and a number, such as 2026-10-12_001.jpg, 2026-10-12_002.jpg. There is no PDF or multi-page file: every page is its own image, which is what a photo library works best with.
After the 14-day trial, scanning needs a licence; everything already in the library stays browsable.
Linux: SANE; macOS: not available
The macOS and Linux builds are being finished. On Linux, scanning goes through SANE, so a scanner SANE supports should appear. The macOS build has no scanner support.
After scanning: dates, places and captions
A scanned print carries the date you scanned it, not the date it was taken, and has no location. A few minutes of tidying makes old photos far easier to find:
- Dates. Select the scans from one occasion, press Ctrl+Shift+D and use Set the first to with your best guess. See how to fix wrong photo dates.
- Places. Press Ctrl+Shift+L and paste a map link. See adding a photo's location.
- Captions and names. Open a scan in the viewer, press I, and fill in Title and Caption with who, where and when. Keywords work too.
None of this changes the scanned files; it lives in the gallery's library. For a complete family-archive routine, the blog covers scanning old family photos and dating old scanned photos.
Questions people ask
Does it work on macOS?
No. Scanning is not available in the macOS build. The Linux build, being finished, scans through SANE.
Can it scan to PDF?
No. Each page is saved as its own image file (JPEG, PNG or TIFF), named by the date and a number.
Why does it say No scanner found?
Switch the scanner on, connect it and press Look again. Windows must already have the scanner's driver, the same one File Explorer uses.
Was this article helpful?
Thank you — that is counted, and nothing else about you is. Still stuck? Ask a person.